HTMLで用いられる見出しタグ(h1~h6)のデザインを画像として作成するのではなく、CSSだけを使って装飾していきます。アイデア次第でいろいろな見出しをデザインすることができます。
シンプル系デザイン
まずは、どのようなサイトにも合いそうなシンプルな見出しデザインをいくつか見ていきます。
下線
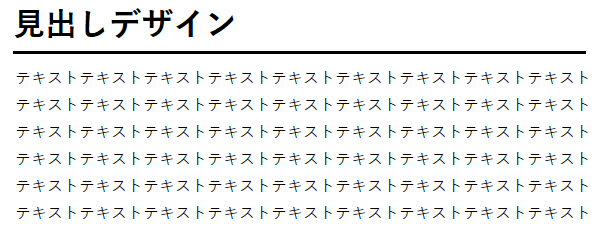
h1 {
  border-bottom: 3px solid #000;
  padding-bottom: 5px;
}
二重線
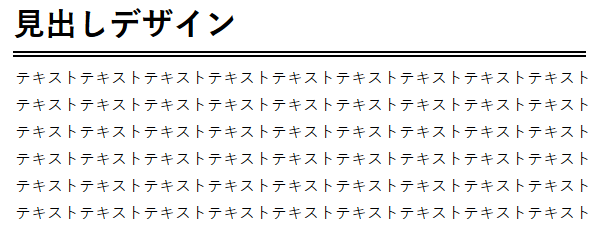
h1 {
  border-bottom: 6px double #000;
  padding-bottom: 5px;
}
上下線
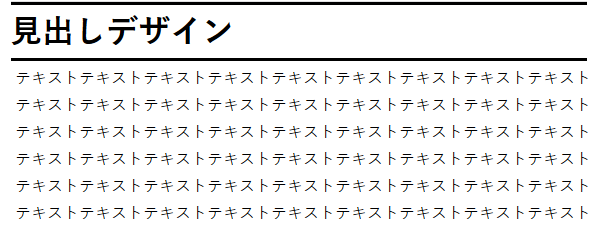
h1 {
  border-bottom: 3px solid #000;
  border-top: 3px solid #000;
  padding: 5px 0;
}
点線
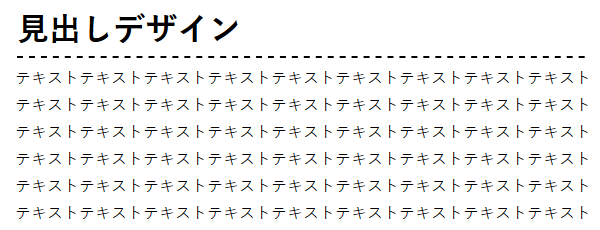
h1 {
  border-bottom: 2px dashed #000;
  padding-bottom: 5px;
}
色を加える
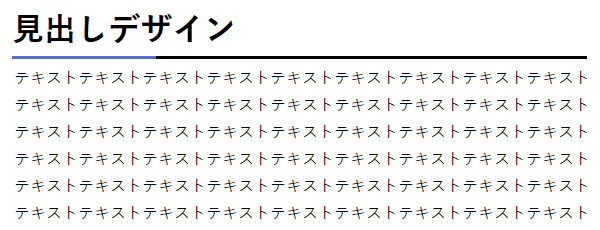
h1 {
  position: relative;
  border-bottom: 3px solid #000;
  padding-bottom: 5px;
}
h1::after {
  position: absolute;
  left:  0;
  bottom: -3px;
  display: block;
  content: " ";
  width: 10%;
  border-bottom: 3px solid #5472cd;
}
アレンジ系デザイン
シンプルなデザインでは物足りないときには、ひと手間加えてちょっとおしゃれにしたりポップな感じにしてみるのも良いでしょう。
帯(リボン)風
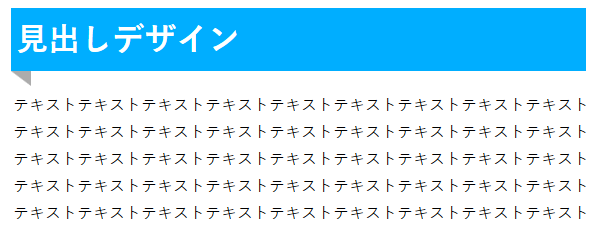
h1 {
  position: relative;
  background: #00aeff;
  padding: 5px;
  color: #fff;
}
h1::after {
  position: absolute;
  left:  0;
  top: 100%;
  content: " ";
  border-bottom: 15px solid transparent;
  border-right: 20px solid #acacac;
}
ストライプ状
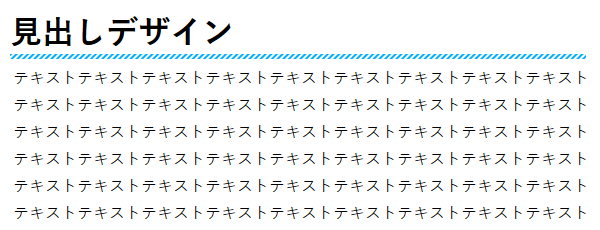
h1 {
  position: relative;
  padding-bottom: 5px;
}
h1::after {
  position: absolute;
  left: 0;
  bottom: 0;
  content: "";
  width: 100%;
  height: 5px;
  background: repeating-linear-gradient(-45deg, #00aeff, #00aeff 2px, #fff 2px, #fff 4px);
}
文字の左右にライン
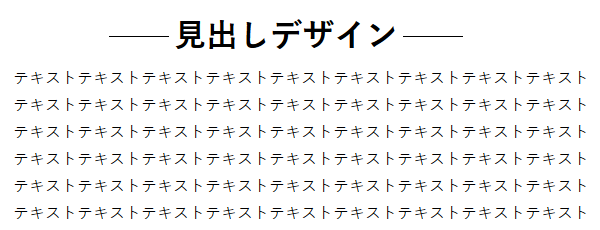
h1 {
  position: relative;
  display: inline-block;
  padding: 0 65px;
}
h1::before {
  left: 0;
}
h1::after {
  right: 0;
}
h1::before,h1::after {
  position: absolute;
  top: 50%;
  content: '';
  display: inline-block;
  width: 60px;
  height: 1px;
  background: #000;
}
角をめくる
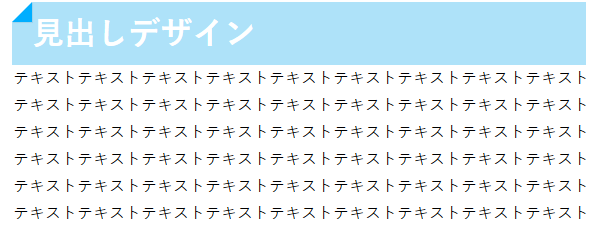
h1 {
  position: relative;
  padding: 5px 20px;
  background: #aee2f9;
  color: #fff;
}
h1::after {
  position: absolute;
  left: 0px;
  top: 0px;
  content: '';
  box-shadow: 1px 1px 1px #9cd4ed;
  border-style: solid;
  border-width: 0 0 20px 20px;
  border-color: #fff #fff #00aeff;
}
グラデーション
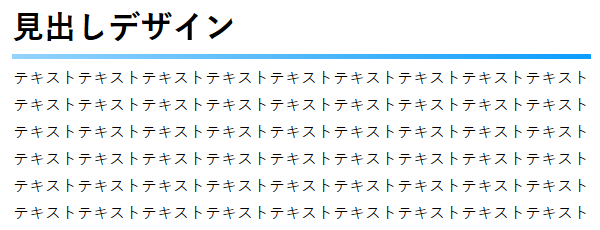
h1 {
  position: relative;
  padding-bottom: 5px;
}
h1::after {
  display: block;
  content: "";
  height: 5px;
  background: linear-gradient(to right, #94d3fc, #0099ff);
}
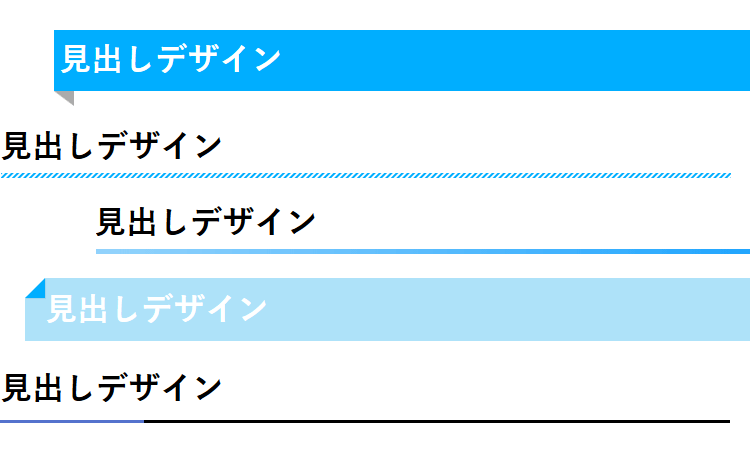
このように、CSSのみでも様々な見出しのデザインをすることができます。この他にもいろいろな装飾をすることができますので、いろんなデザインを試してみてください。

 ガーリー・可愛い系のフリー素材サイト
 イラストレーターでクリッピングマスクを使う
 Photoshopで放射状を作る
 Webデザインで使えそうなアイコンを作ってみる
 【スクリプト不要】CSSのみで作るアコーディオン
 Webフォントアイコン-Font Awesomeの使い方-